
How-To: Use Pen Tool for Accurate Vector Paths
How-To: Use Pen Tool for Accurate Vector Paths. Get practical lessons and hands-on examples at AIComputerClasses in Indore to master graphic design & multimedia skills quickly. Follow practical exercises and tool-based examples to learn rapidly. Includes references to tools like ChatGPT, Power BI, Excel, Figma, or Python where appropriate. This article from AIComputerClasses Indore breaks down how-to: use pen tool for accurate vector paths into actionable steps.
✏️ How-To: Use Pen Tool for Accurate Vector PathsIn the world of graphic design, mastering the Pen Tool is like learning how to draw with precision and control. Whether you’re designing logos, icons, or illustrations, this tool gives you pixel-perfect paths that define the foundation of your vector art.
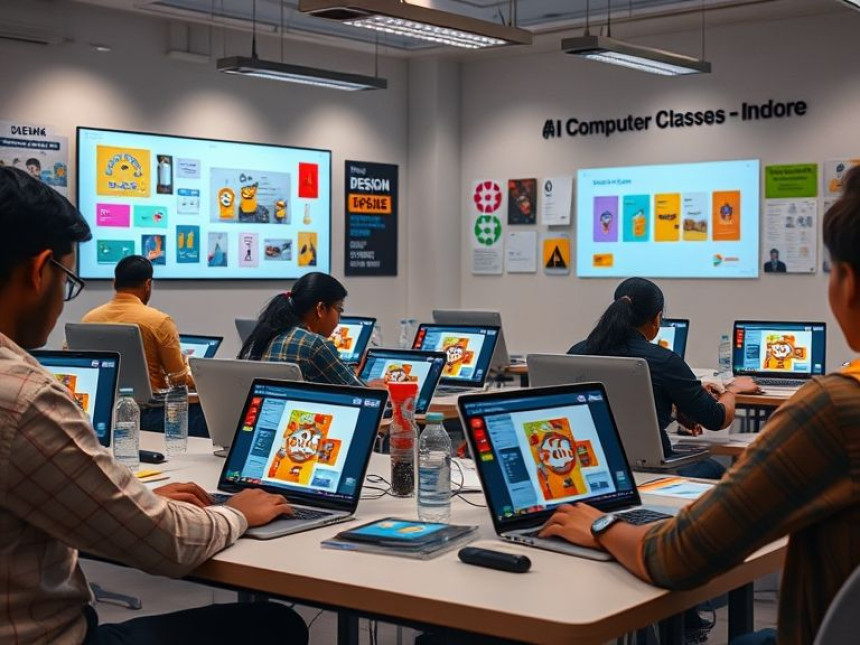
At AI Computer Classes – Indore, learners explore the Pen Tool through real-world exercises using Adobe Illustrator and Figma, building confidence with anchor points, curves, and vector manipulation. Let’s go through the step-by-step process to make your Pen Tool skills sharp and efficient.
The Pen Tool allows designers to create vector-based paths using points and curves. Each point you place defines part of a shape — straight or curved — that can be filled, stroked, or combined to form complex designs.
Why It’s Important:
- Offers precision unmatched by other drawing tools.
- Essential for creating logos, typography, and scalable graphics.
- Supports infinite editing without loss of quality.
💡 Vector graphics remain sharp no matter how much you zoom in or resize.
When you click with the Pen Tool, you create anchor points.
- Straight lines: Click once, then again — you’ll get a straight segment.
- Curves: Click, hold, and drag to create direction handles that control the curvature.
👉 Pro Tip: The distance and angle of handles determine how smooth your curve appears.
Start small! Practice by tracing simple shapes like rectangles, circles, and stars.
- Select the Pen Tool (shortcut P).
- Click to drop your first anchor point.
- Continue clicking around your shape.
- Close the path by clicking on the first point again.
💡 Press Shift while clicking to keep lines at 45° angles for cleaner results.
Curves are where most beginners struggle — but they’re also the most powerful feature.
- Click + Drag: Create a smooth curve.
- Alt (Option) + Drag Handle: Adjust one side of a curve without affecting the other.
- Ctrl (Cmd) + Click on Anchor: Move or adjust anchor points freely.
💡 Remember: Less is more. Use fewer anchor points for smoother curves.
Once your paths are drawn, use tools like:
- Direct Selection Tool (A): To fine-tune individual points.
- Convert Anchor Point Tool: To switch between curves and corners.
- Pathfinder Panel: To combine or subtract shapes easily.
Example workflow:
Create a heart shape → refine with anchor tools → smooth curves using handles.
🚀 Step 5: Apply Fills, Strokes, and LayersOnce your path is ready:
- Fill: Add color or gradient inside the shape.
- Stroke: Define outlines with thickness and style.
- Layers: Keep complex designs organized for easy edits.
💡 In Illustrator, use the Appearance panel for multi-layered strokes and effects.
Apply your Pen Tool skills to:
- Logo tracing from sketches.
- Icon design.
- Poster artwork.
- UI element creation in Figma.
💡 Practice tracing images with reduced opacity layers to build muscle memory.
❌ Adding too many anchor points — makes editing harder.
❌ Ignoring handles — results in jagged curves.
❌ Not closing paths — creates broken shapes.
❌ Using raster tools — limits scalability.
✅ Solution: Keep your workflow clean, structured, and vector-based.
At AI Computer Classes, students get personalized training in vector design and digital illustration.
You’ll learn:
- How to master Pen Tool workflows.
- How to create professional vector illustrations.
- How to integrate your designs into Figma, Photoshop, and Power BI visuals.
👉 Boost your design confidence with real-world exercises and expert mentorship.
📍 Join the next batch at AI Computer Classes
🎯 ConclusionMastering the Pen Tool opens up endless creative possibilities. It’s the skill that separates beginners from professional designers. With patience, precision, and practice — you’ll be creating clean, scalable, and elegant designs in no time.
Learn step-by-step from professionals at AI Computer Classes – Indore, where creativity meets technology!
📞 Contact AI Computer Classes – Indore
✉ Email: hello@aicomputerclasses.com
📱 Phone: +91 91113 33255
📍 Address: 208, Captain CS Naidu Building, near Greater Kailash Road, opposite School of Excellence For Eye, Opposite Grotto Arcade, Old Palasia, Indore, Madhya Pradesh 452018
🌐 Website: www.aicomputerclasses.com